TL;DR: I built a professional temperature controller (ESP32, PID, auto-tune, presets, LCD graph, power loss recovery, cloud integration) in one day. Something that would normally take a month. The difference wasn’t the tool. It was the experience to know what to ask — and to notice when something was wrong without looking at the code.
The experiment
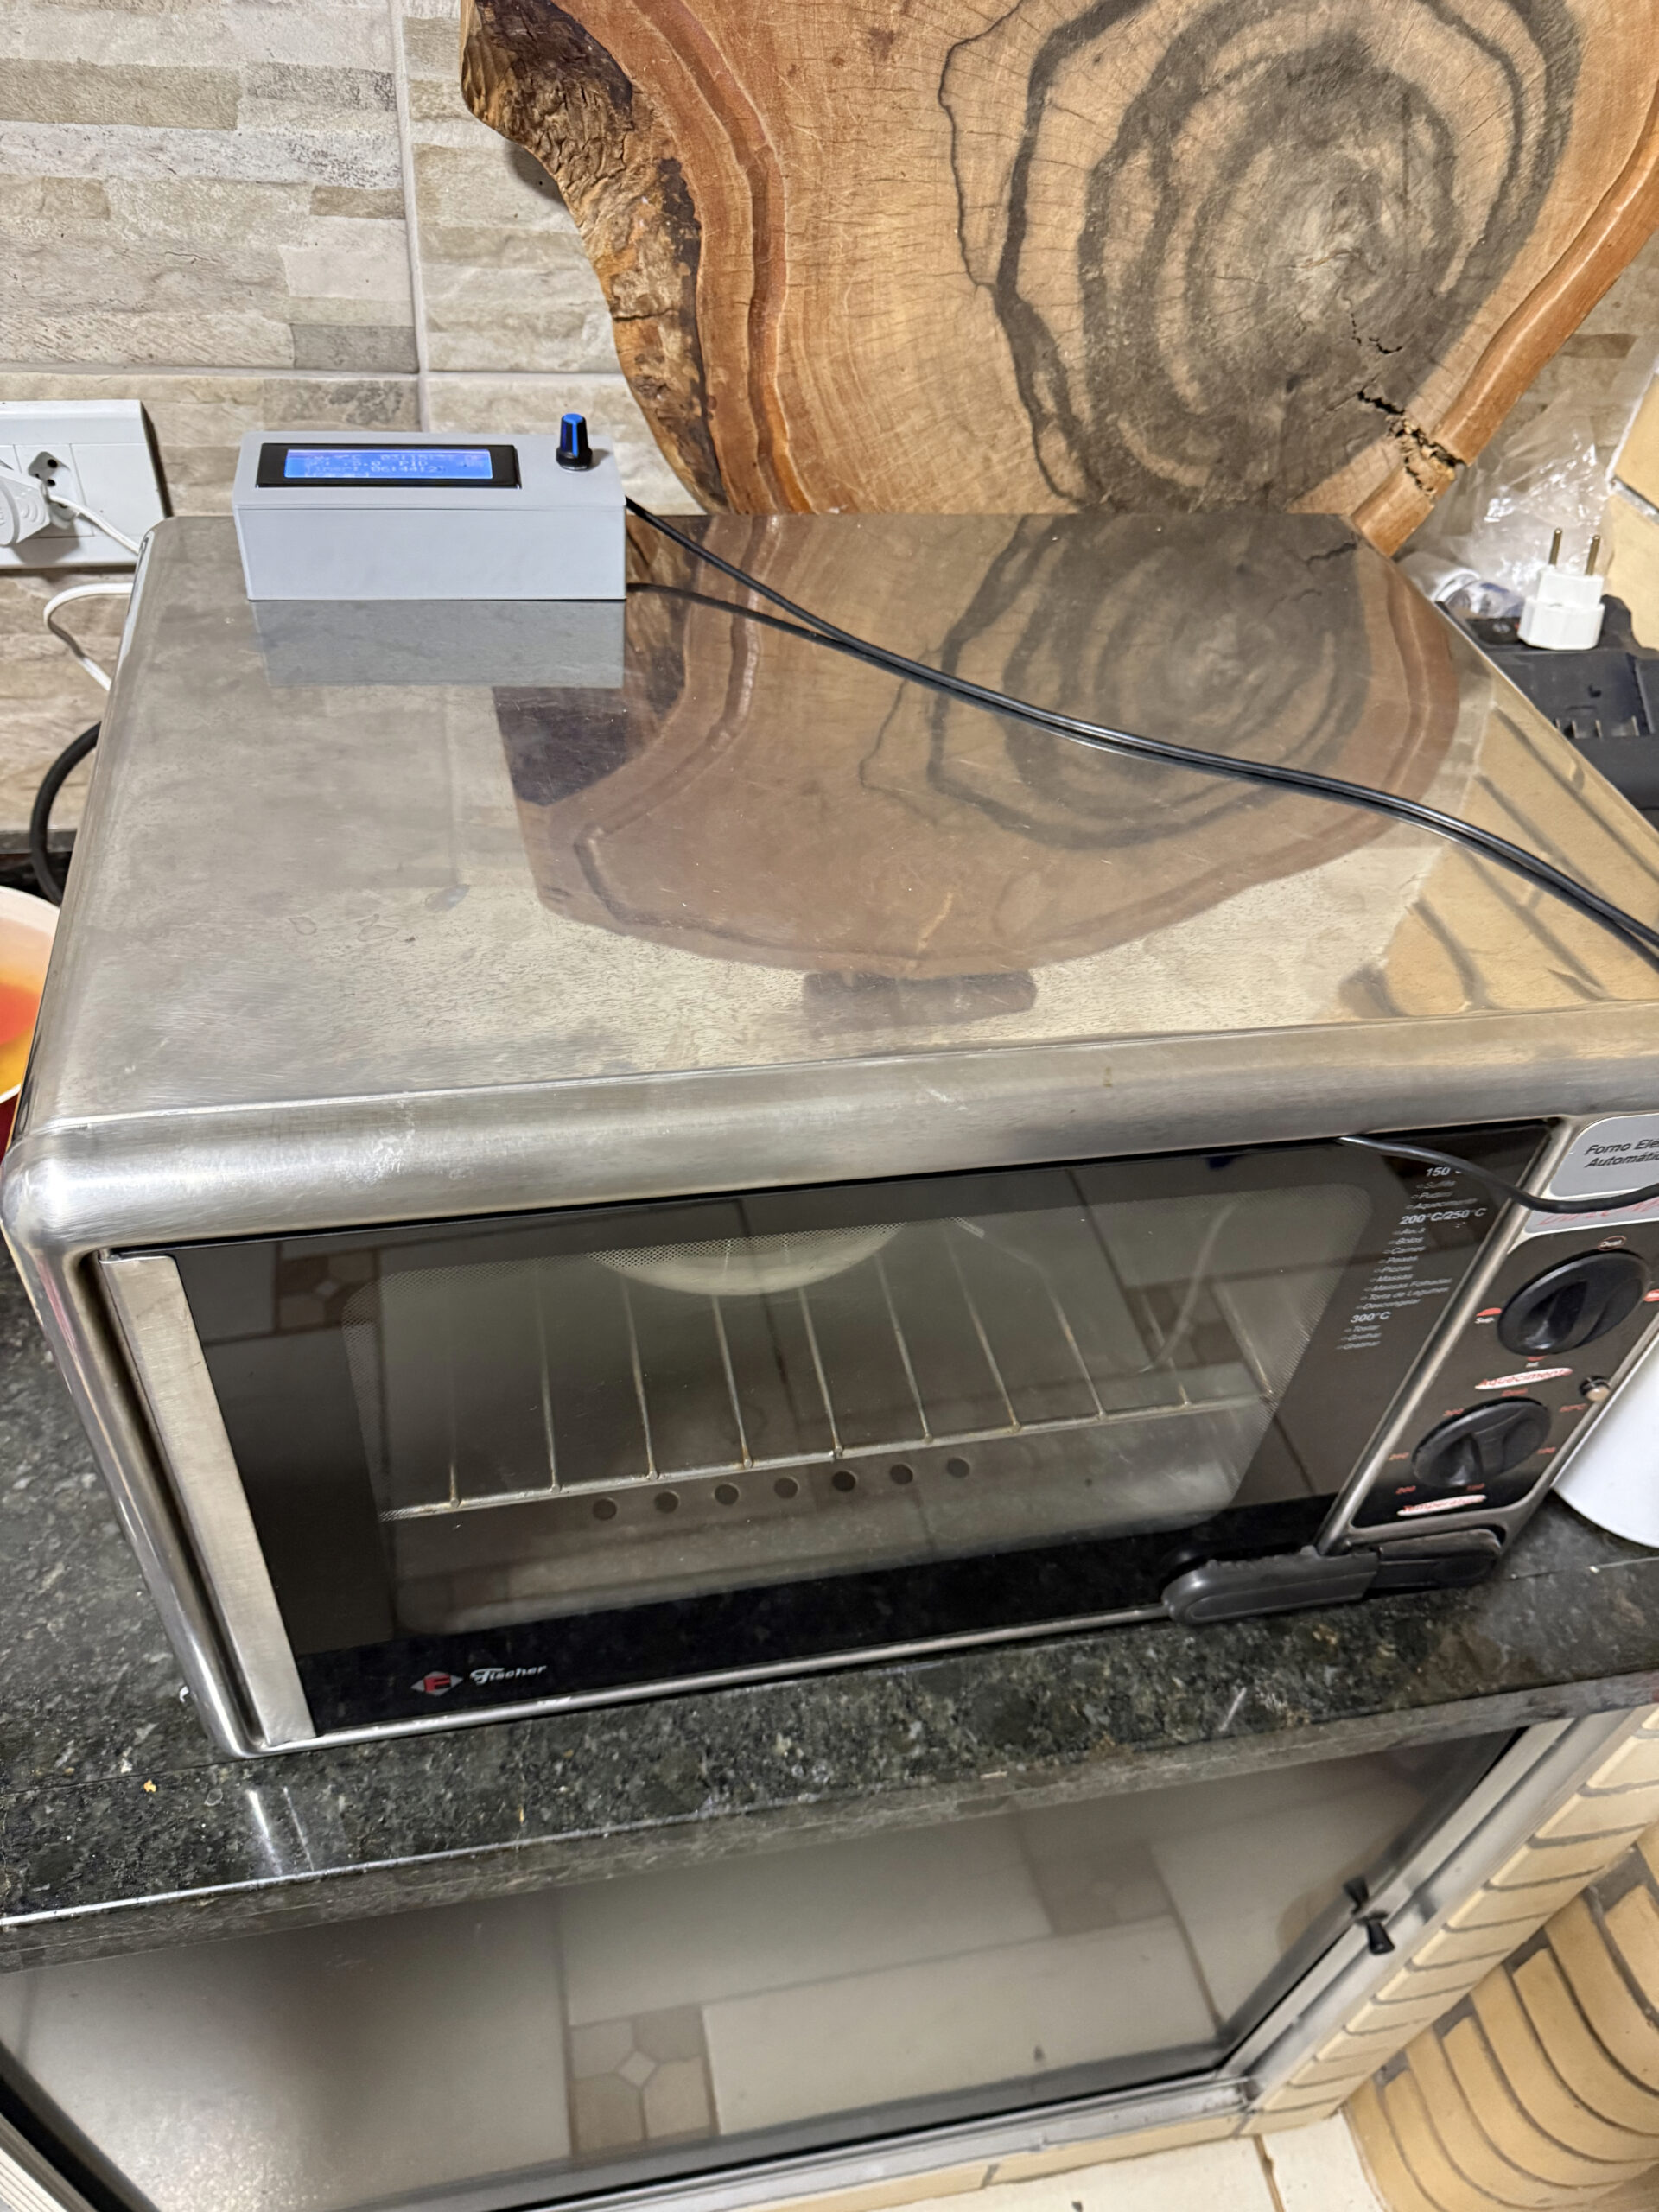
I had two temperature problems at home. A kitchen electric oven with no precise control, and a PTC heater I use to dry 3D printing filament. Both need the same thing: hold a stable temperature for a period of time. What changes are the parameters.
I could have bought a ready-made controller. But then I wouldn’t have learned anything — and the experiment I wanted to run was a different one.
The approach was intentional: I used Claude Code as a pair programmer and avoided writing or even reading the generated code as much as possible. The idea was to test the limit of “how far can AI go on its own if I just describe what I want?”
The result was done in one day. But the feeling that stuck wasn’t just about speed.
What came out of it
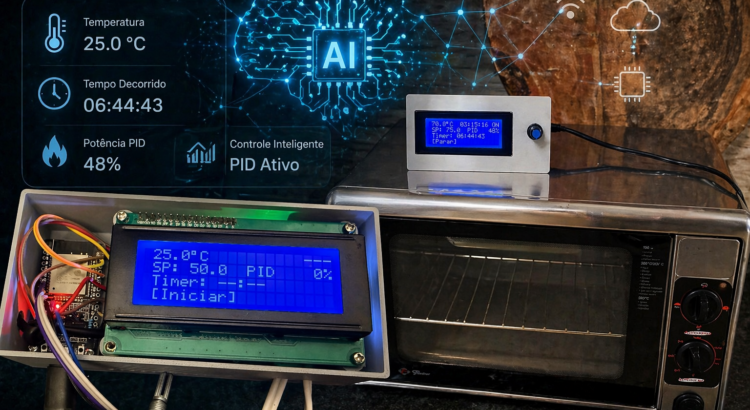
Before talking about the process, let me show what this thing does — because the point here depends on understanding it wasn’t a trivial project.
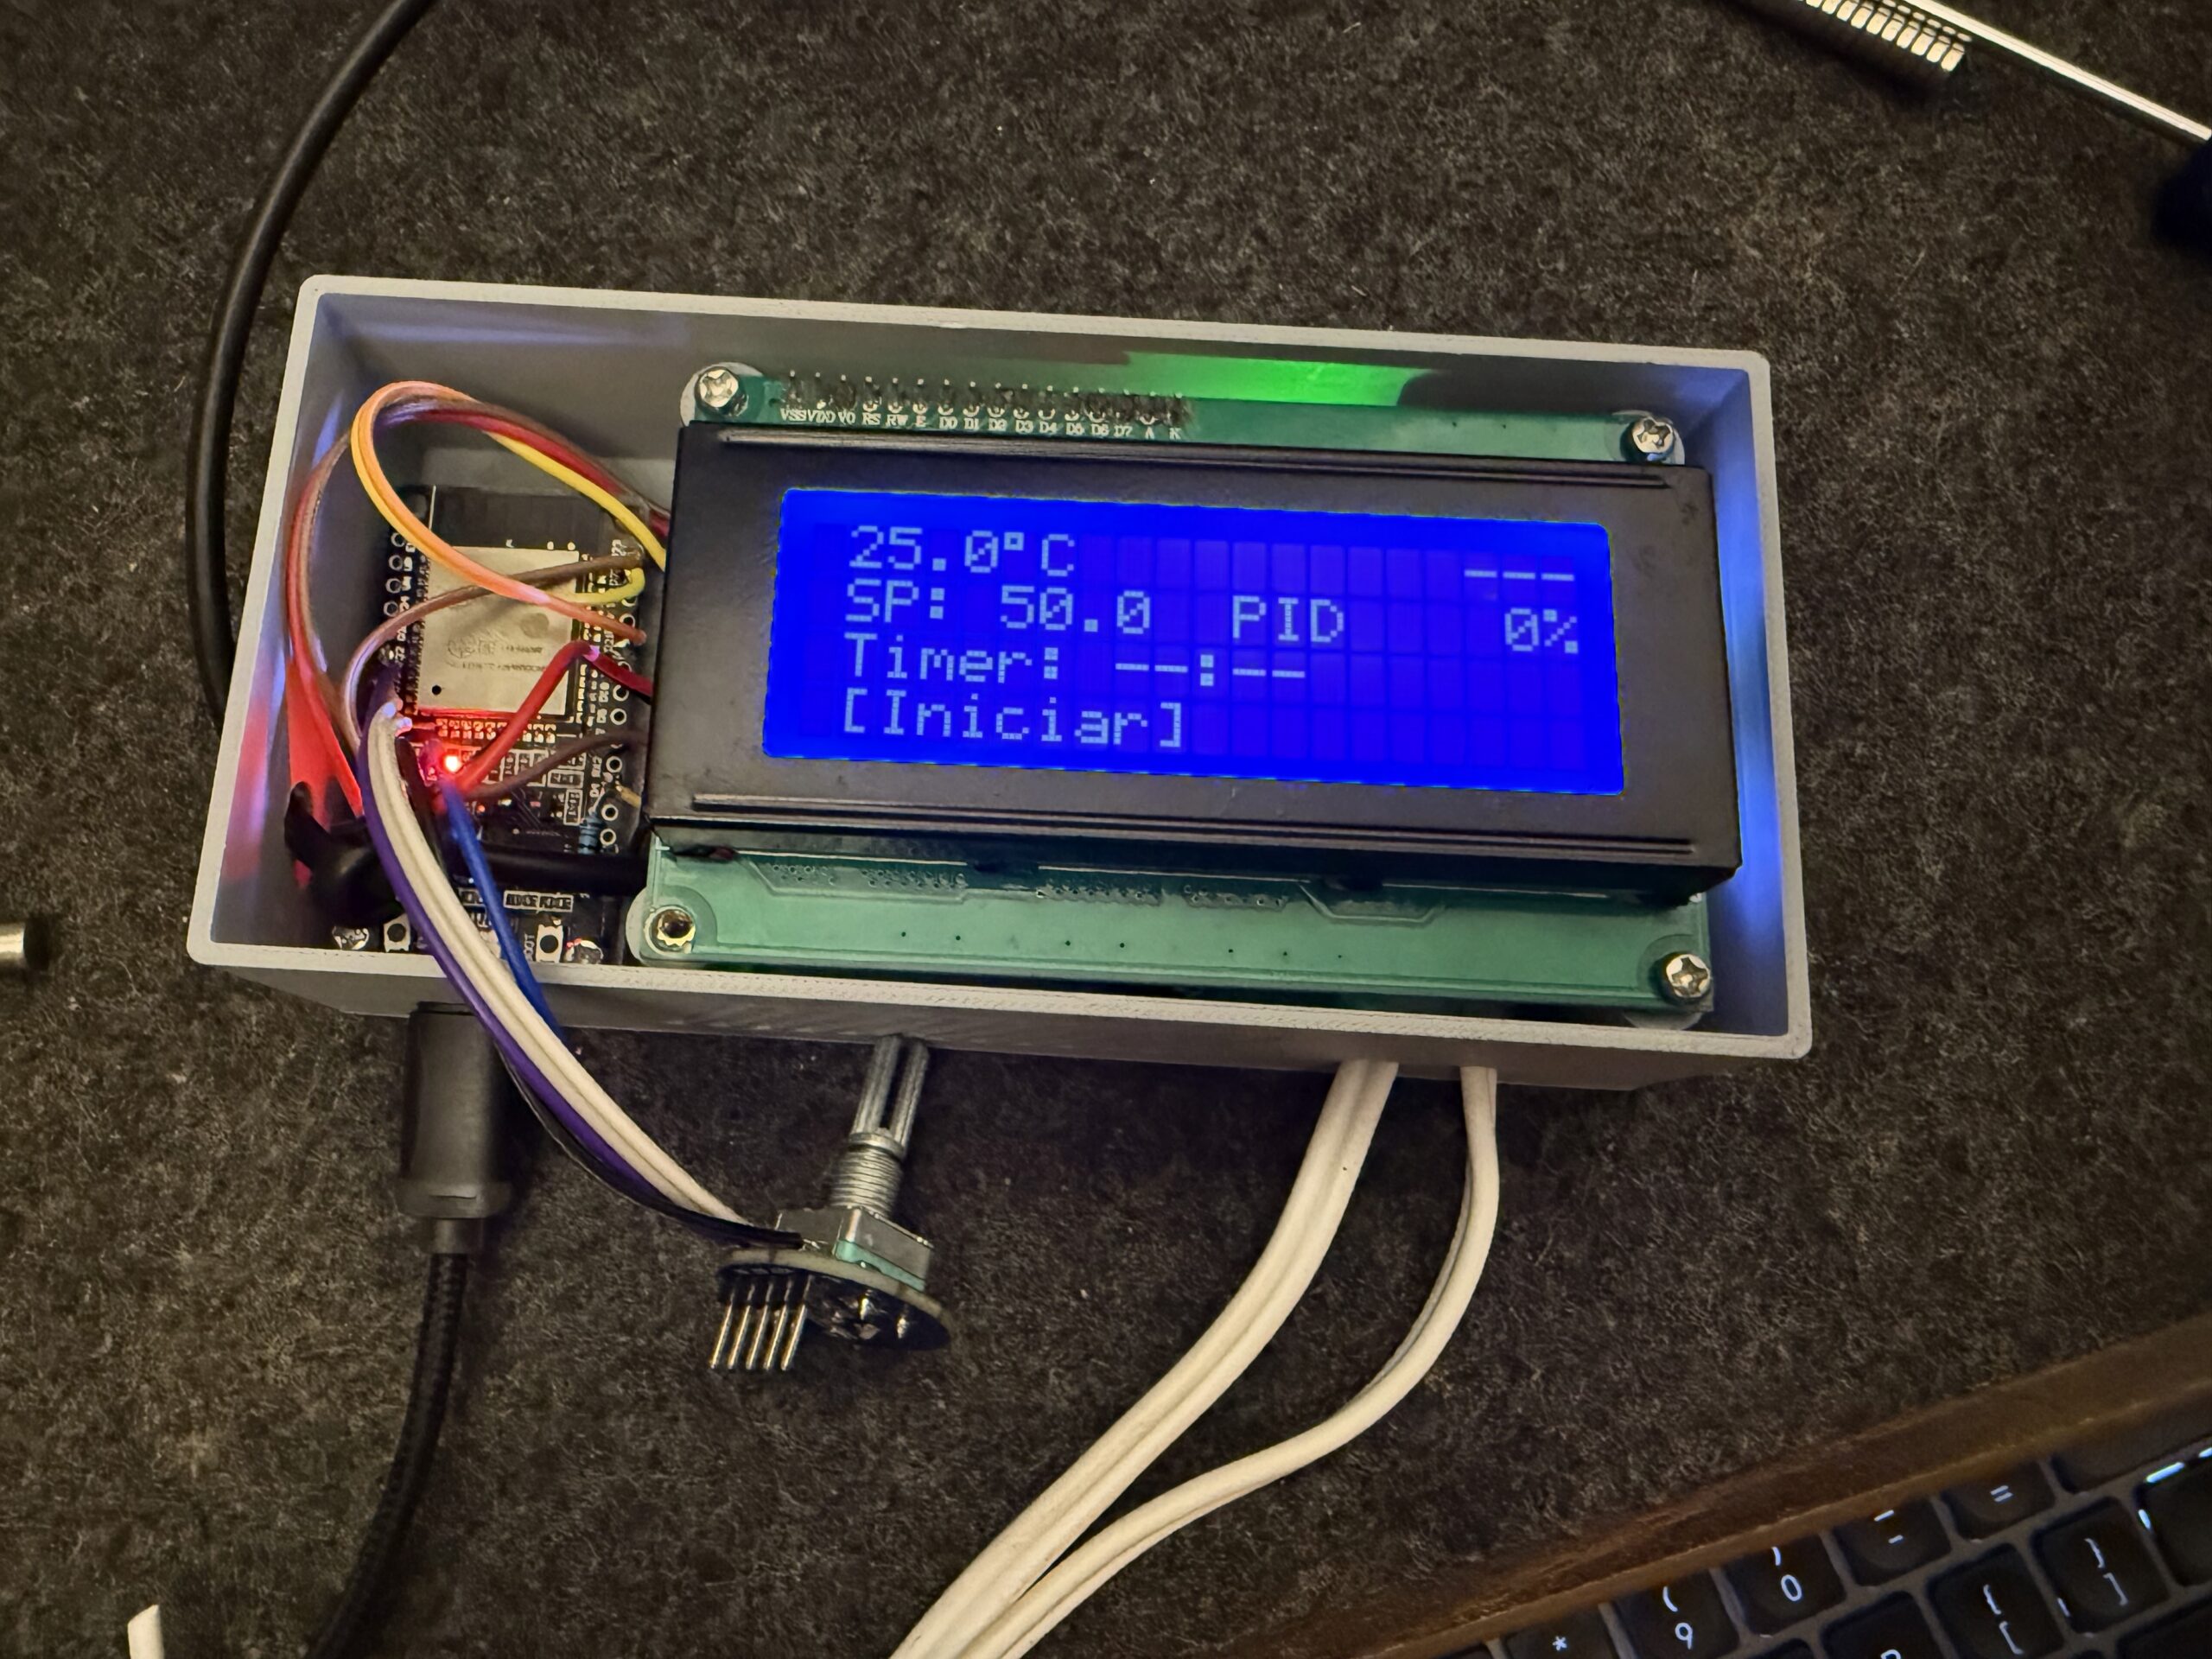
Hardware
- ESP32 as the brain
- DS18B20 temperature sensor (digital, OneWire, 12-bit — 0.0625°C resolution)
- Relay module controlling the oven’s heating element
- 20×4 I2C LCD as display
- Rotary encoder with button as the only physical interface
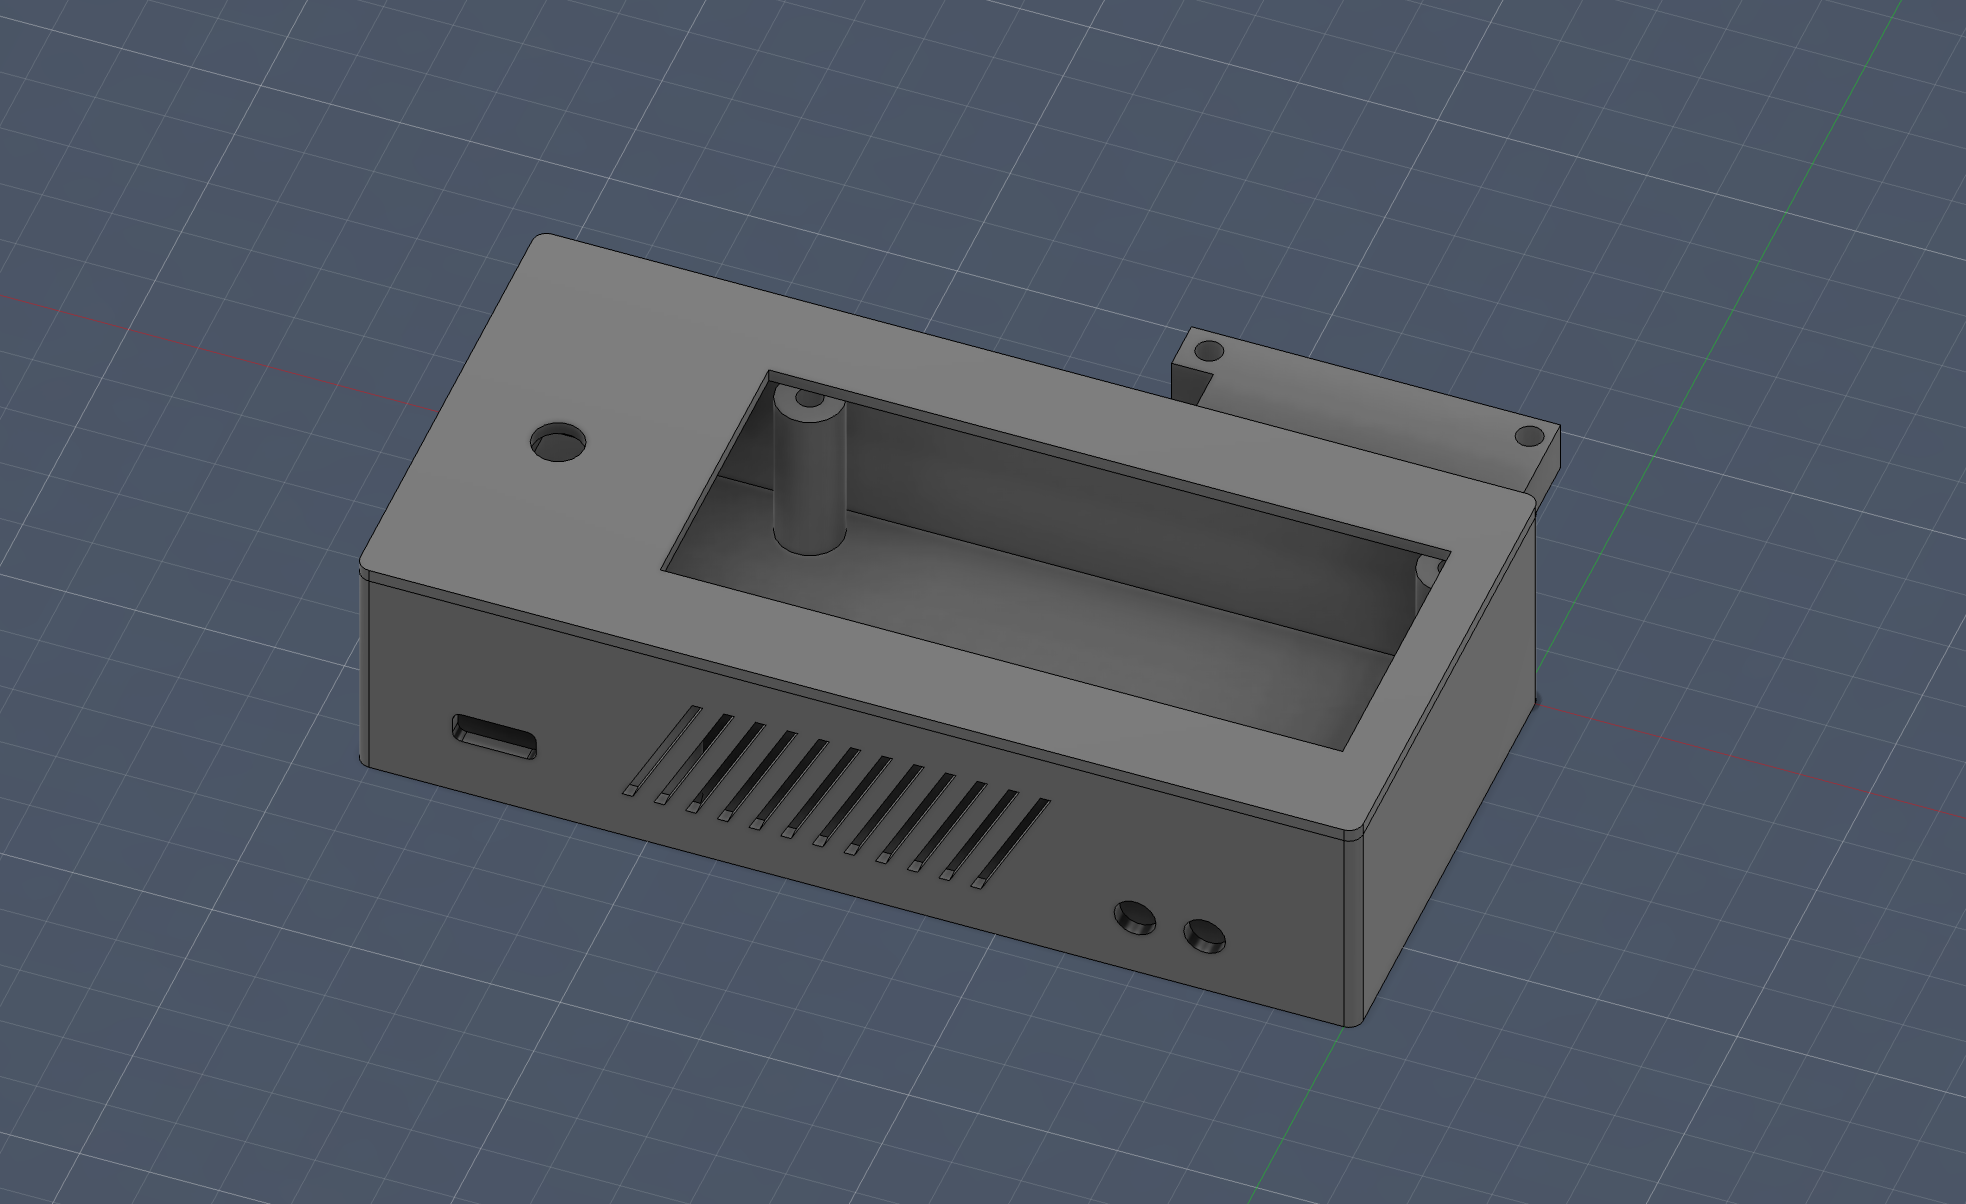
- 3D printed case (modeled in Fusion)
Software
- 3 control modes: hysteresis (on/off), PID on/off, and PID with time-proportional window
- Auto-tune: automatic PID calibration via relay feedback (Tyreus-Luyben)
- 10 equipment presets: saves Kp, Ki, Kd, and window per heater — switch from oven to PTC in 2 clicks
- Timer up to 24h with automatic shutdown
- Temperature graph on the LCD itself, with 7 time scales (from 10 minutes to 12 hours)
- Power loss recovery: if the power goes out, on reboot it asks if you want to continue where you left off
- Remote control via Blynk: monitoring and adjustment from your phone
- Safety system: overtemperature detection, sensor failure, and even mechanically stuck relay detection
All of this working 100% offline. WiFi is optional and never blocks local control.
The interface — one encoder and 4 screens
The entire navigation is done with a rotary encoder: rotate to navigate, click to select, long press to go back. Three levels: screen → item → edit. Seems limited, but it’s surprisingly ergonomic when implemented well.
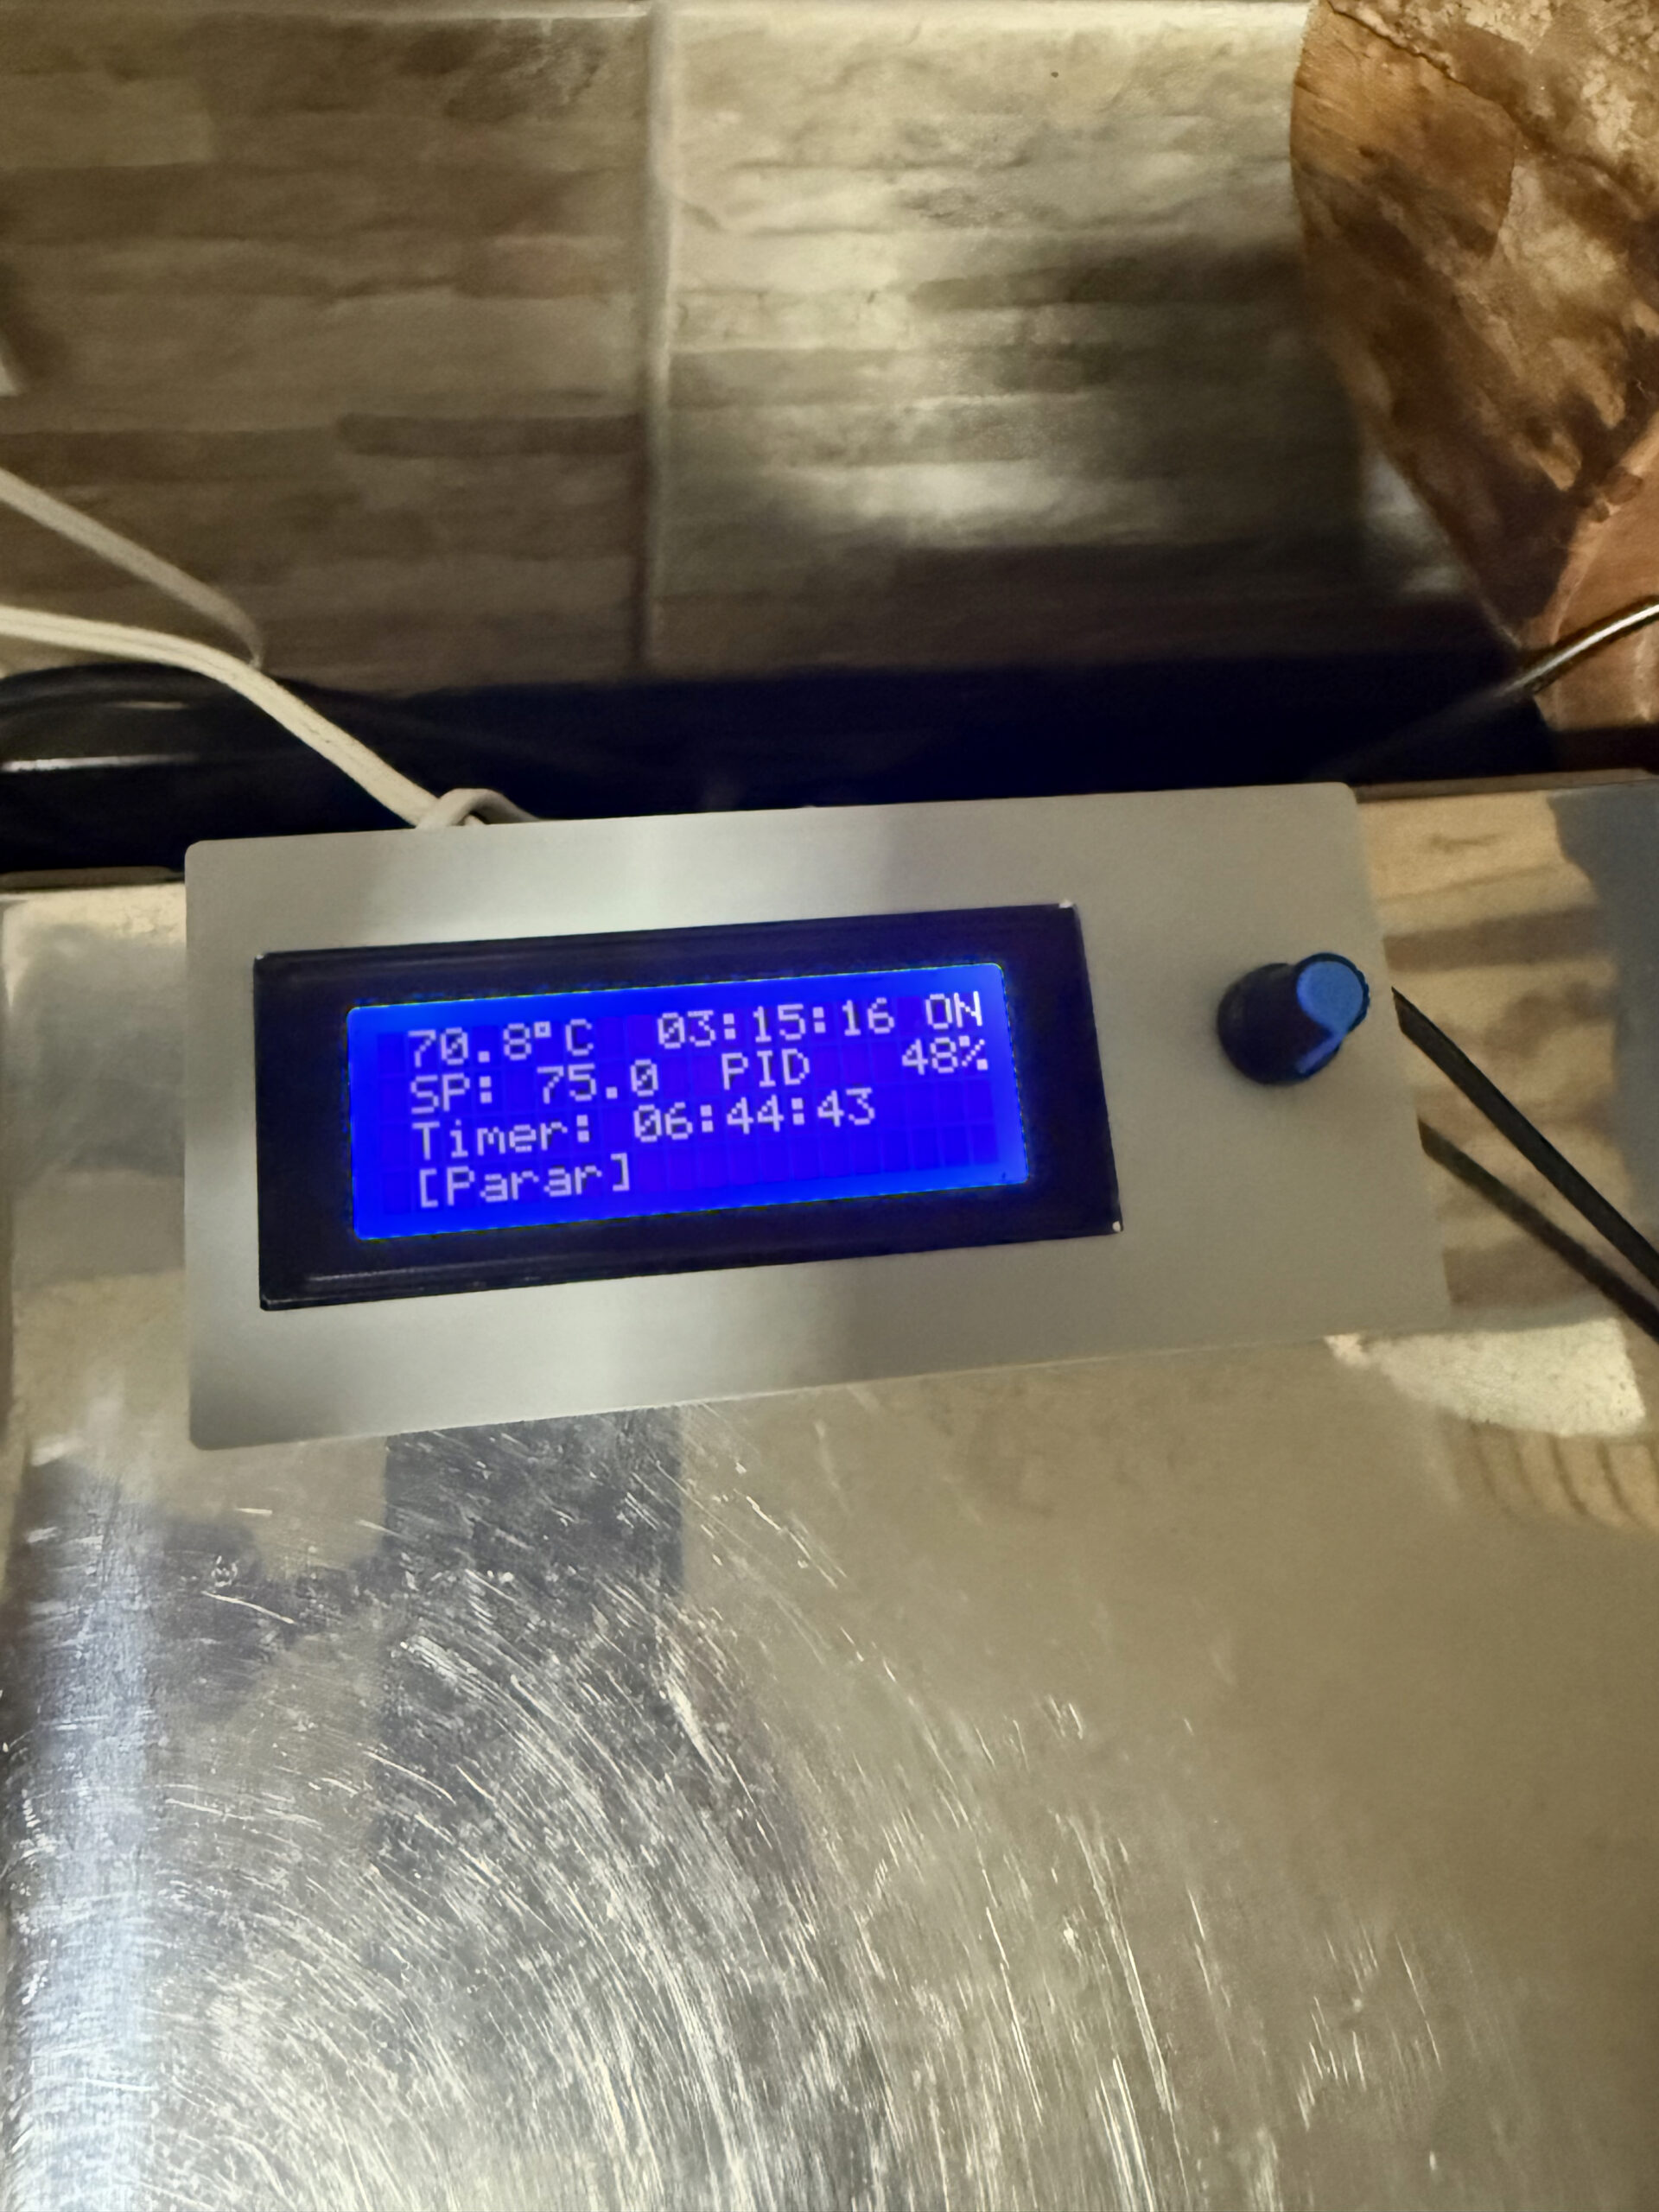
Home
 75.3°C  01:05:30 ON
 SP: 80.0 Histerese
 Timer: 01:30
>[Iniciar]   Forno1
Graph
 95 -▇▅▃▂▁▁▂▃▅▇▇████
>80  ▁▂▃▅▇████████▇▅▃
 65  ▁▁▁▁▁▁▁▁▁▁▁▁▁▁▁▁
    0          [10m]
Yes, a bar chart on a character LCD. 16 columns, 24 pixels of vertical resolution using custom characters. One sample every 30 seconds, up to 12 hours of history.
The other two screens are settings (with items that change based on the active mode) and auto-tune (which shows real-time progress, with ETA and suggested parameters at the end).
The PID — and why it’s different
If you’ve never worked with PID control, the short version: it’s an algorithm that calculates “how much” to heat based on 3 factors — the current error (P), the accumulated error over time (I), and the rate of change of the error (D). The result is a value from 0 to 100% “power”.
The problem is that a relay doesn’t have “50% power”. It’s either on or off. Period.
The classic solution is the time window: within a 10-second window, if the PID says 65%, the relay stays on for 6.5s and off for 3.5s.
But the naive implementation has a subtle problem: every 2 seconds the PID recalculates and changes the output, the relay can start “stuttering” — switching on and off mid-window because the numbers changed. This wears out the relay and controls nothing.
The solution we implemented was elegant: instead of a fixed window with start and end, the system counts how long the relay has been in its current state. If it’s been on longer than it should → turn off and reset the counter. If it’s been off longer than it should → turn on and reset. The relay only changes state when the time “expires”. No stuttering.
And here’s the first point that matters for the experiment. The “naive” window code was correct. It did exactly what I asked. But I knew, from experience, it would cause problems. No unit test would catch this — because on paper it worked. I could only tell because I’d seen this go wrong before.
Auto-tune — when the oven learns by itself
The auto-tune uses the relay feedback method with Tyreus-Luyben constants. In practice:
- Turn the relay on until the temperature exceeds the setpoint
- Turn off and let the temperature drop below the setpoint
- Turn on again
- Repeat 5 times, measuring the amplitude and period of each oscillation
- Calculate the ideal PID parameters based on the average of the cycles
The Tyreus-Luyben constants (Kp = 0.33 × Ku) are more conservative than classic Ziegler-Nichols (Kp = 0.6 × Ku). The result is a system that takes a bit longer to stabilize, but with much less overshoot. For an oven, overshoot means burnt food.
The first attempt used an external library that worked in theory but got stuck in a loop in practice. I went back to custom code, incorporated what the library did well (multi-cycle averaging, min/max reset per half-cycle, Tyreus-Luyben constants) and discarded the rest. This kind of decision — swapping library for custom, choosing Tyreus-Luyben over Ziegler-Nichols — doesn’t come from the prompt. It comes from having broken things before.
Safety — because ovens are not toys
This was one of the points that worried me the most. The system has 3 levels of protection:
- Overtemperature (>= 100°C): relay off immediately, system deactivated, error screen with blinking backlight
- Sensor failure (no reading for 5s): same thing — shuts everything down
- Stuck relay: if after turning off the relay the temperature keeps rising 10°C above the cutoff point, the firmware concludes the contact may be mechanically stuck. Runs 10 rapid on/off cycles to try to free it and shows an error
Plus: safe boot (relay always starts off), 8-second watchdog, and WiFi that never blocks local control.
Power loss recovery
If the power goes out while the oven is running, on reboot the ESP32 shows:
Ciclo interrompido!
Continuar?      18s

  [SIM]       NAO
YES is pre-selected. If nobody presses anything in 20 seconds, it resumes automatically — the timer continues from where it left off, it doesn’t restart.
State is saved to non-volatile memory (NVS) every 30 seconds and on every state change. So even a sudden outage loses at most 30 seconds of progress.
Now the part that matters: what AI brought and what it didn’t
In the beginning, I could be pretty vague with instructions — and it still worked. The firmware skeleton (10 files, ~2500 lines) came out in a few hours, with a module architecture I would have arrived at on my own, but in much more time.
But as I iterated, that stopped being enough. I started refining more, demanding library usage instead of from-scratch implementations, describing behaviors more carefully, and at some critical points, using BDD (Given/When/Then) to guide the logic.
Interestingly, those more structured instructions were maybe 5% of what was generated — and consumed about 30% of the time.
There was a moment that caught my attention: Claude commented that one class shouldn’t know about another due to coupling concerns. It was the kind of thing that gives you an unexpected peace of mind — like when you realize someone thought about something that would normally slip by.
What AI did well
- Absurd prototyping speed: hours instead of weeks
- Modularization: suggested a clean architecture without me asking
- Libraries: when I asked about using ESP32Encoder with PCNT hardware instead of implementing quadrature by hand, it didn’t just agree — it explained why
- Questioning decisions: when I asked AI to explain before implementing, it prevented more bugs than any linter
What required human experience
- Feeling that the encoder was “off”: no log would tell me that. I turned it, felt the friction, and knew something was wrong with the debounce
- The PID window stuttering: the code was correct. But I knew it would cause problems
- The auto-tune that wouldn’t stop: the library worked on paper, froze in practice
- Encoder UX: which screen appears first when you click, where the cursor goes, what long press does depending on context — all of this came from testing and feeling that “this is annoying to use”
The point
Knowing what to ask, noticing when something was going in the wrong direction without looking at the code, feeling that an architecture decision would be costly later — none of that came from the tool.
It came from experience.
AI was a clear differentiator. But without the experience to question what it delivers, it’s just a faster way to make mistakes.
Could a beginner do the same? I don’t think so. Not because of capability, but because some things only make sense after you’ve seen them go wrong a few times. A beginner wouldn’t feel the encoder’s friction, wouldn’t notice the relay stuttering, wouldn’t know that Tyreus-Luyben > Ziegler-Nichols for thermal systems.
AI cooks very well these days. But someone still needs to know how much salt to add.
Numbers
- Total time: ~1 day of focused work
- Lines of code: ~2,500 (10 files)
- AI cost: ~$30 in API
- Hardware cost: ~$15 (ESP32 + LCD + encoder + relay + sensor)
- RAM used: 15.7% of 320KB
- Flash used: 61.8% of 1.3MB
Want to replicate?
The code is on GitHub: esp32-pid-thermostat
The README has complete wiring, pin assignments, control modes, screen navigation, and troubleshooting. It’s plug and play if you have the hardware.
And here’s the question I still haven’t answered:
Can you feel friction without prior experience?
Because that’s what guided the best decisions here. And that’s exactly what AI didn’t bring — it brought the speed to act on it.
Maybe AI isn’t replacing experience. Maybe it’s completely changing what it means to start.
What do you think?